
5.1 KiB
5.1 KiB

Telegram Files
A simple telegram file downloader.


🔗 Table of Contents
📍 Overview
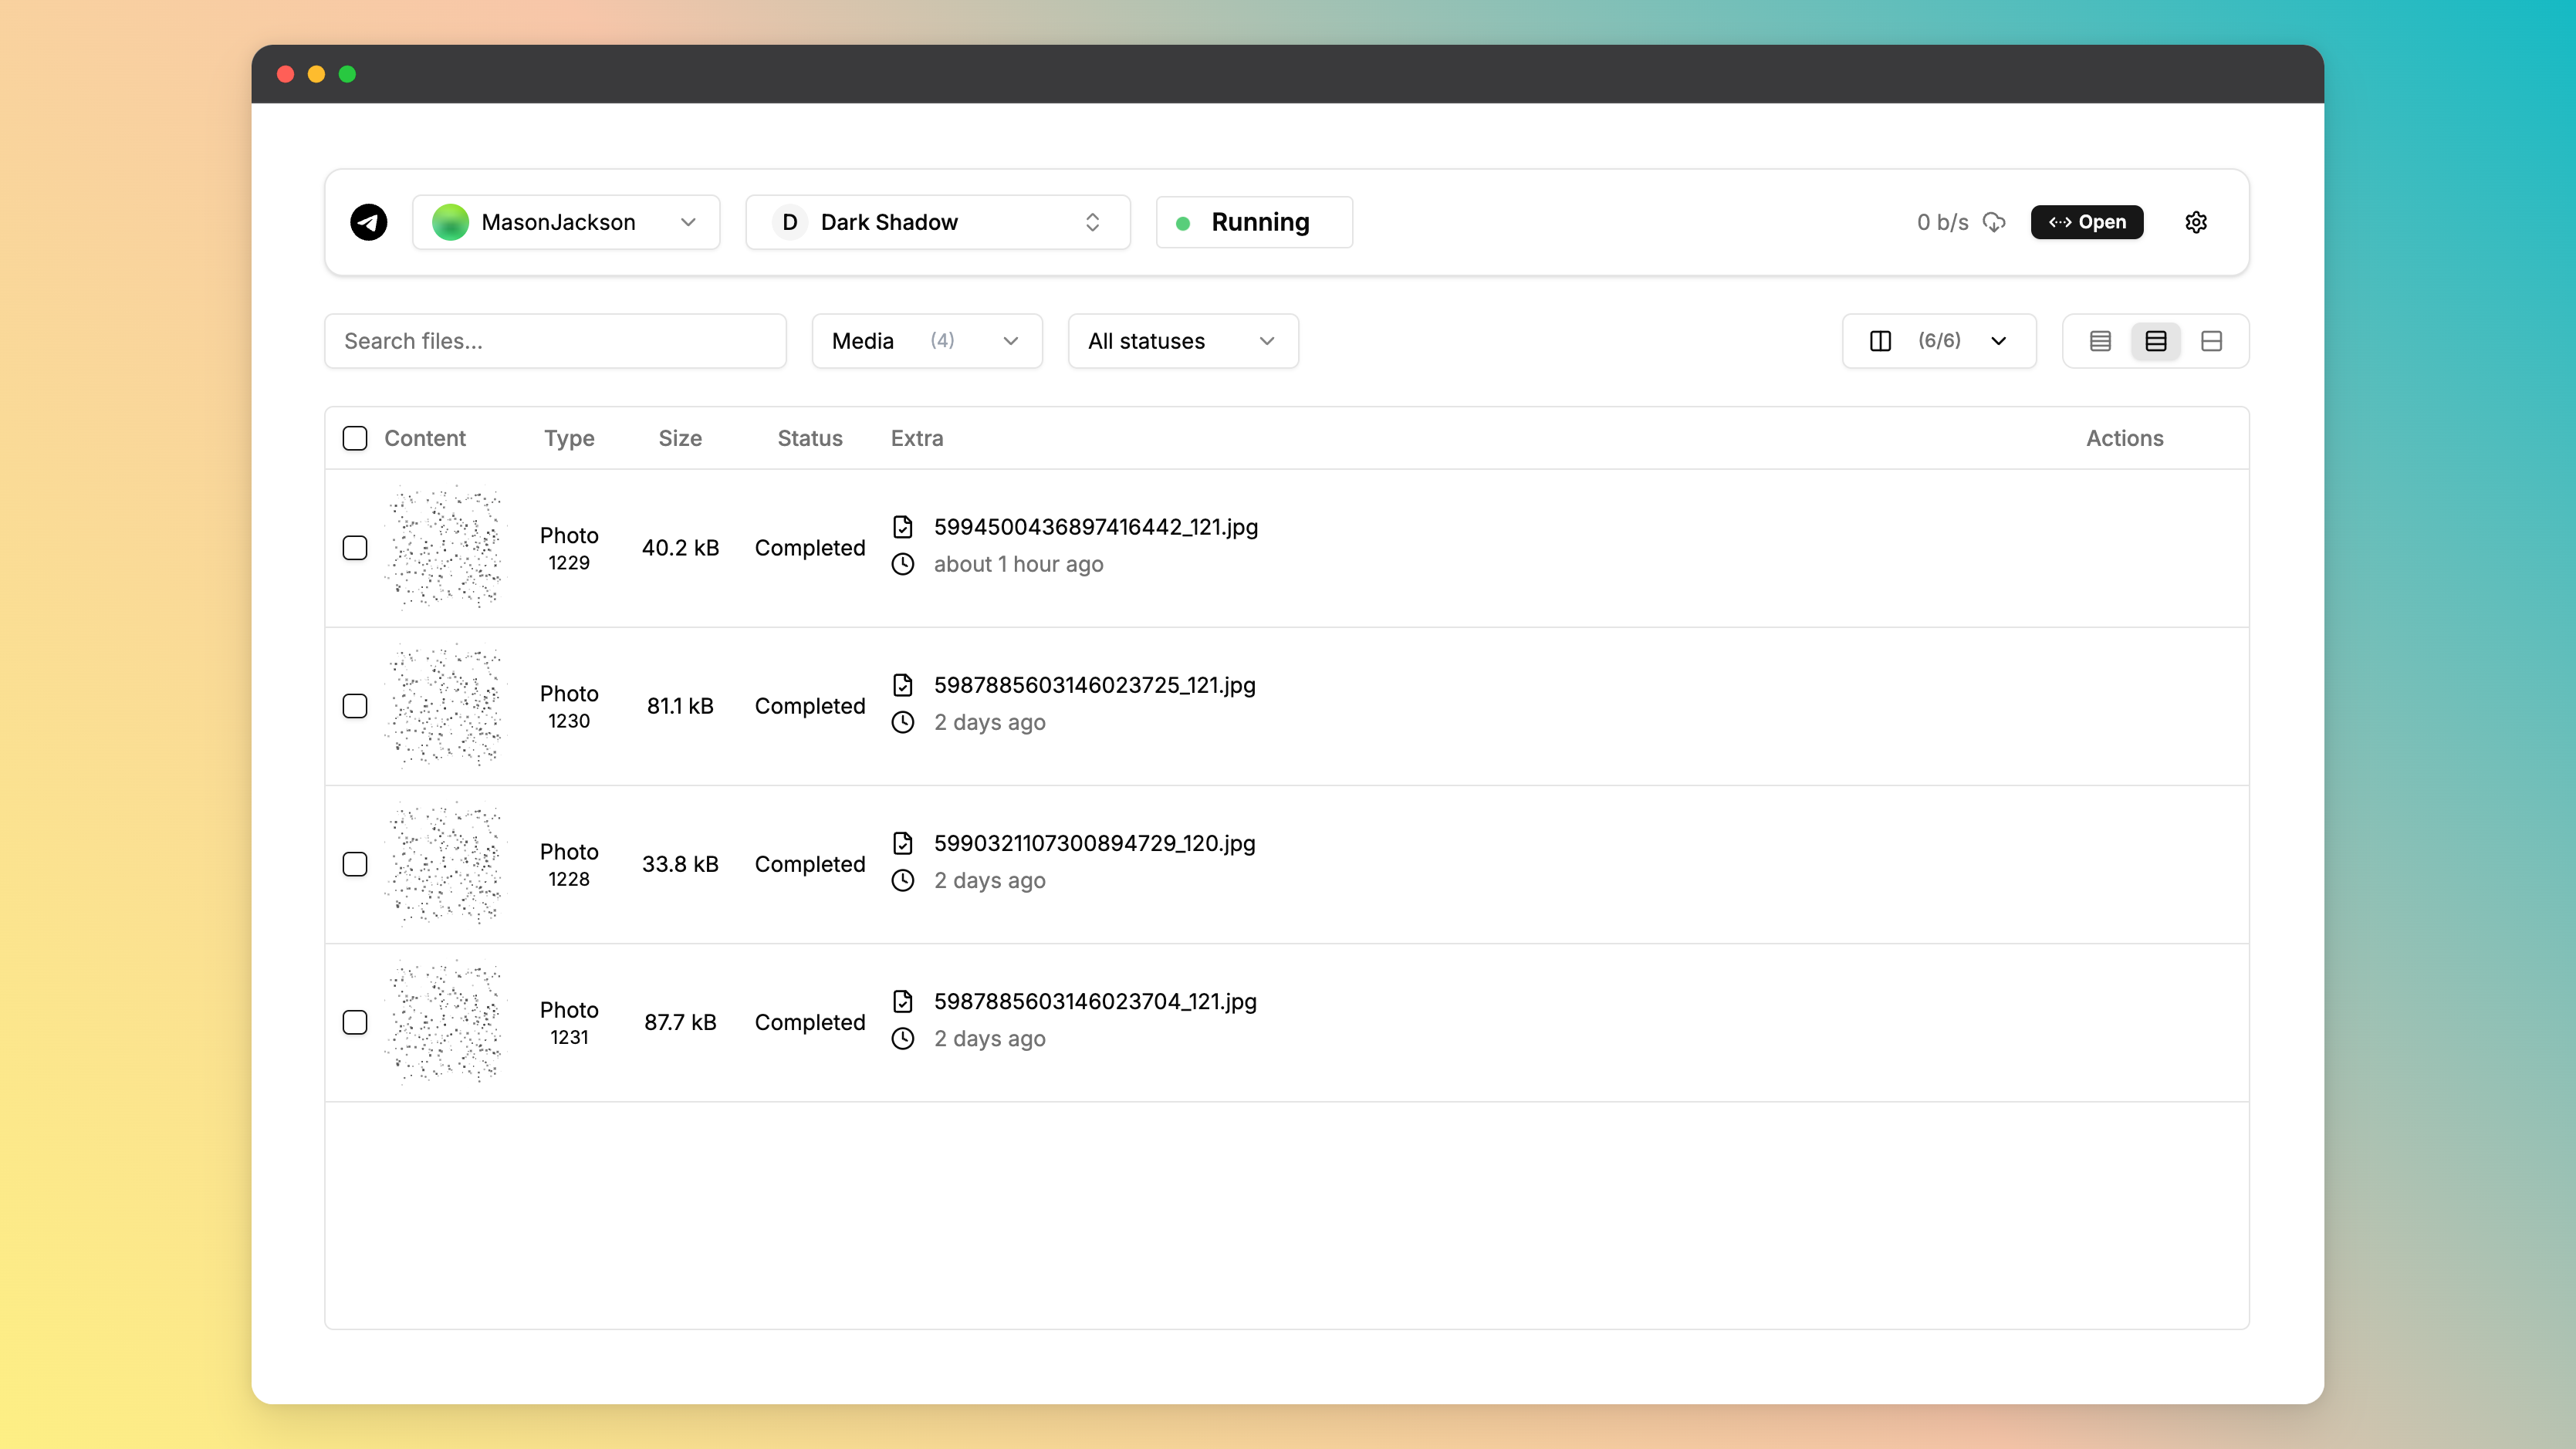
- Support for downloading files from telegram channels and groups.
- Support multiple telegram accounts for downloading files.
- Support suspending and resuming downloads.
- Multiple accounts with same files will be downloaded only once.
🧩 Screenshots
🚀 Getting Started
☑️ Prerequisites
Before getting started with telegram-files, ensure your runtime environment meets the following requirements:
- Programming Language: JDK21,TypeScript
- Package Manager: Gradle,Npm
- Container Runtime: Docker
⚙️ Installation
Install telegram-files using one of the following methods:
Build from source:
- Clone the telegram-files repository:
git clone https://github.com/jarvis2f/telegram-files
- Navigate to the project directory:
cd telegram-files
- Install the project dependencies:
Using npm

cd web
npm install
Using gradle

cd api
gradle build
Using docker

docker build -t jarvis2f/telegram-files .
🤖 Usage
Using docker
Copy docker-compose.yaml to your project directory and run the following command:
docker-compose up -d
Important Note: You should NOT expose the service to the public internet. Because the service is not secure.
📌 Project Roadmap
Task 1: Improve Telegram’s login functionality.Task 2: Support auto transfer files to other destinations.Task 3: Automatically download files based on set rules.Task 4: Download statistics and reports.
🔰 Contributing
- 💬 Join the Discussions: Share your insights, provide feedback, or ask questions.
- 🐛 Report Issues: Submit bugs found or log feature requests
for the
telegram-filesproject. - 💡 Submit Pull Requests: Review open PRs, and submit your own PRs.
Contributing Guidelines
- Fork the Repository: Start by forking the project repository to your github account.
- Clone Locally: Clone the forked repository to your local machine using a git client.
git clone https://github.com/jarvis2f/telegram-files - Create a New Branch: Always work on a new branch, giving it a descriptive name.
git checkout -b new-feature-x - Make Your Changes: Develop and test your changes locally.
- Commit Your Changes: Commit with a clear message describing your updates.
git commit -m 'Implemented new feature x.' - Push to github: Push the changes to your forked repository.
git push origin new-feature-x - Submit a Pull Request: Create a PR against the original project repository. Clearly describe the changes and their motivations.
- Review: Once your PR is reviewed and approved, it will be merged into the main branch. Congratulations on your contribution!
🎗 License
This project is protected under the MIT License. For more details, refer to the LICENSE file.