No description
| resources | ||
| templates | ||
| .gitignore | ||
| LICENSE | ||
| main.py | ||
| README.md | ||
| requirements.txt | ||
| timelapse.py | ||

Immich Selfie Timelapse Tool
This tool helps create selfie timelapses from your Immich instance.
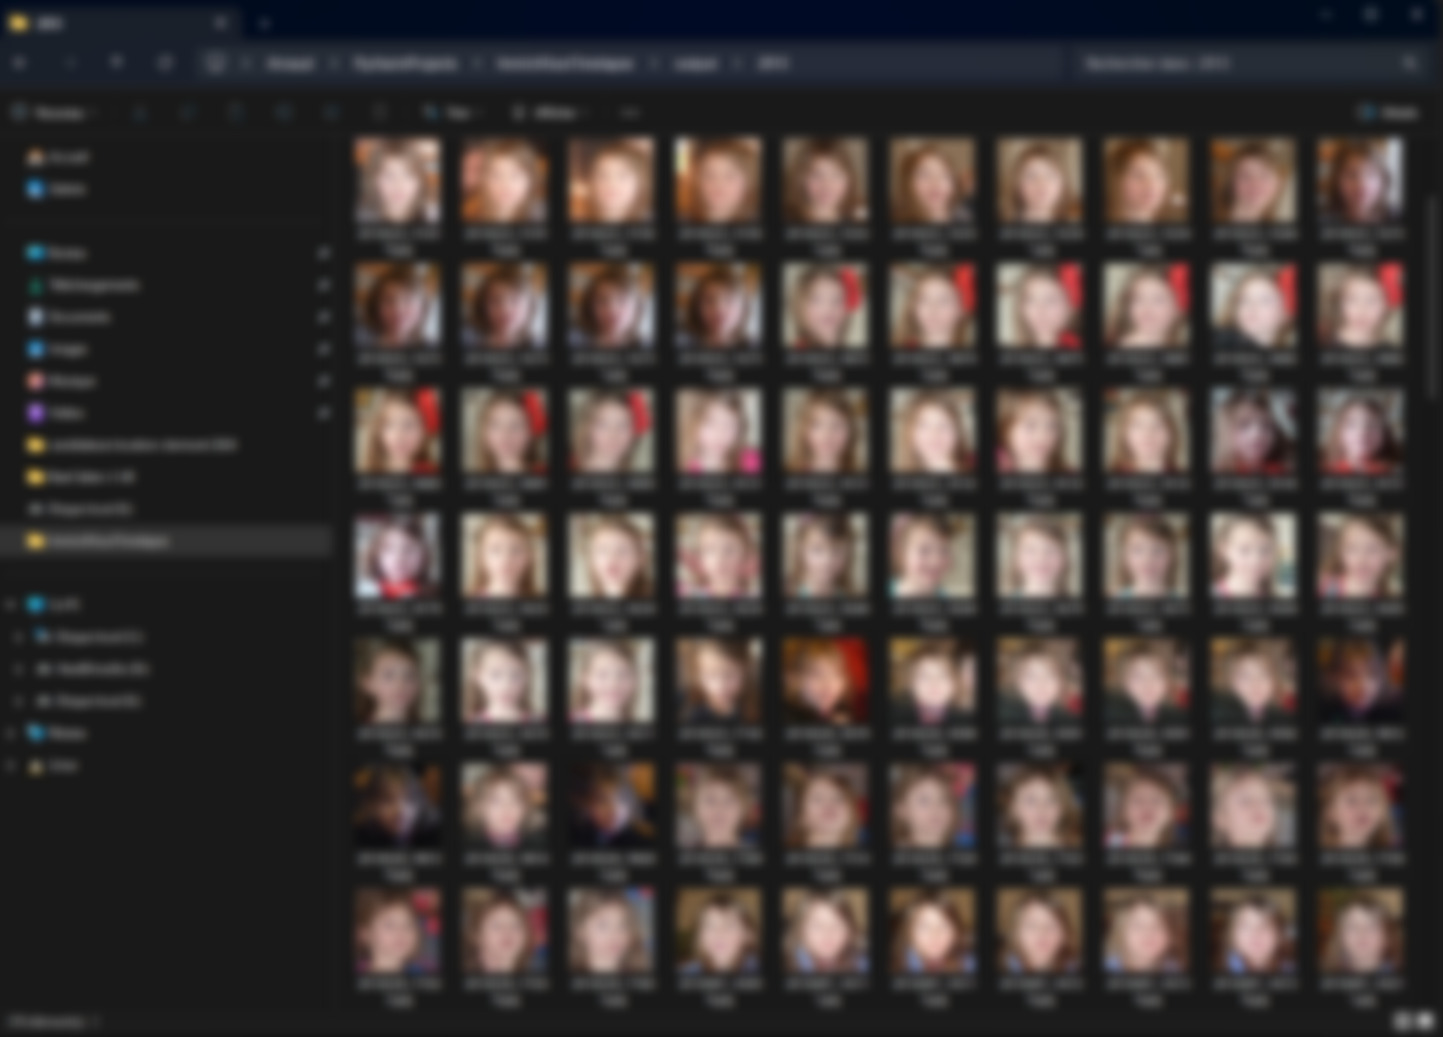
It uses the powerful machine learning features of Immich to gather all the photographs where a particular individual appears, retrieves the bounding box metadata, and automatically crops and aligns the photos.

Features
- Automatically fetch images featuring a specified individual from your Immich instance.
- Extract bounding box metadata and crop/align photos using machine learning.
- Discard photos with low resolution (set by threshold).
- Discard photos where the subject is viewed from the side.
- Adds timestamp in the filename for easy chronological ordering.
Setup
-
Generate an API Key in Immich:
- Log in to your Immich web UI.
- Navigate to the API settings (or your profile settings) and generate an API key.
- Copy the API key for use with the script.
-
Find the Person ID:
- In the Immich web UI, view photos sorted by person.
- When you click on a specific person, check the URL in your browser.
- The person ID (usually a UUID) is part of the URL. Copy this ID for use in the script.
-
Install Dlib python library
- Download the wheel for your python version here: https://github.com/z-mahmud22/Dlib_Windows_Python3.x
- Install it with
python -m pip install dlib-19.24.99-cp312-cp312-win_amd64.whl
-
Download the face detection CNN model
- Download mmod_human_face_detector.dat from: https://github.com/justadudewhohacks/face-recognition.js-models/blob/master/models/mmod_human_face_detector.dat
- Place the file in the same folder as the script, or update the predictor path in the script accordingly.
-
Download the Face Landmark Data:
- Download the 68-point face landmark model from: https://github.com/italojs/facial-landmarks-recognition/blob/master/shape_predictor_68_face_landmarks.dat
- Place the file in the same folder as the script, or update the predictor path in the script accordingly.
-
Install the required python modules from requirements.txt
- Note that an old version of Numpy is required for compatibility with dlib.
Usage
Run the script from the command line with the required arguments. For example:
python process_faces.py \
  --api-key YOUR_API_KEY \
  --base-url http://your.immich.server:2283/api \
  --person-id YOUR_PERSON_ID \
  --output-folder output
Command-line Arguments
- --api-key: API key generated from Immich.
- --base-url: Base URL of your Immich API (e.g., http://192.168.1.123:2283/api).
- --person-id: The ID of the person (obtained from the Immich web UI).
- --output-folder: Directory where the aligned face images will be saved (default: output).
- --padding-percent: Padding added around the face as a percentage (default: 0.3).
- --resize-width and --resize-height: Dimensions for the output image (default: 512 x 512).
- --min-face-width and --min-face-height: Minimum acceptable face dimensions (default: 128 x 128).
- --pose-threshold: Threshold for acceptable head pose.
- --desired-left-eye: Desired left eye position as a fraction (x y) in the output image (default: 0.35 0.45).
- --max-workers: Number of parallel processes to use (default: 4).
- --face-detect-model-paths: Path to the CNN face detector model file (default: mmod_human_face_detector.dat).
- --landmark-model-path: Path to the face landmark predictor model file (default: shape_predictor_68_face_landmarks.dat).
Additional Notes
- Ensure that the
shape_predictor_68_face_landmarks.datfile is accessible by the script. Update the path if necessary. - The tool may require some manual sorting of the output images to achieve the best video effect. In particular, the face landmark detection is not super robust.
- Execution speed: on my i5 11400, it can process about 2 image per second.
- I find that a video framerate of 15 fps gives good results.
- Contributions and improvements are welcome.
License
This project is open source and available under the MIT License.