 85ffe10aed
Enhance documentation with six Mermaid diagrams to better explain
complex system implementations:

- Adaptive polling lifecycle flowchart showing enqueue→execute→feedback
  cycle with scheduler, priority queue, and worker interactions
- Circuit breaker state machine diagram illustrating Closed↔Open↔Half-open
  transitions with triggers and recovery paths
- Temperature proxy architecture diagram highlighting trust boundaries,
  security controls, and data flow between host/container/cluster
- Sensor proxy request flow sequence diagram showing auth, rate limiting,
  validation, and SSH execution pipeline
- Alert webhook pipeline flowchart detailing template resolution, URL
  rendering, HTTP dispatch, and retry logic
- Script library workflow diagram illustrating dev→test→bundle→distribute
  lifecycle emphasizing modular design

These visualizations make it easier for operators and contributors to
understand Pulse's sophisticated architectural patterns.
12 KiB
Webhook Configuration Guide
Pulse supports sending alert notifications to various webhook services including Discord, Slack, Microsoft Teams, Telegram, Gotify, ntfy, PagerDuty, and any custom webhook endpoint.
Quick Start
- Navigate to Alerts → Notifications tab
- Configure email settings or add webhooks
- Select your service type (Discord, Slack, Teams, Telegram, etc.)
- Enter the webhook URL and configure settings
- Test the webhook to ensure it's working
- Save your configuration
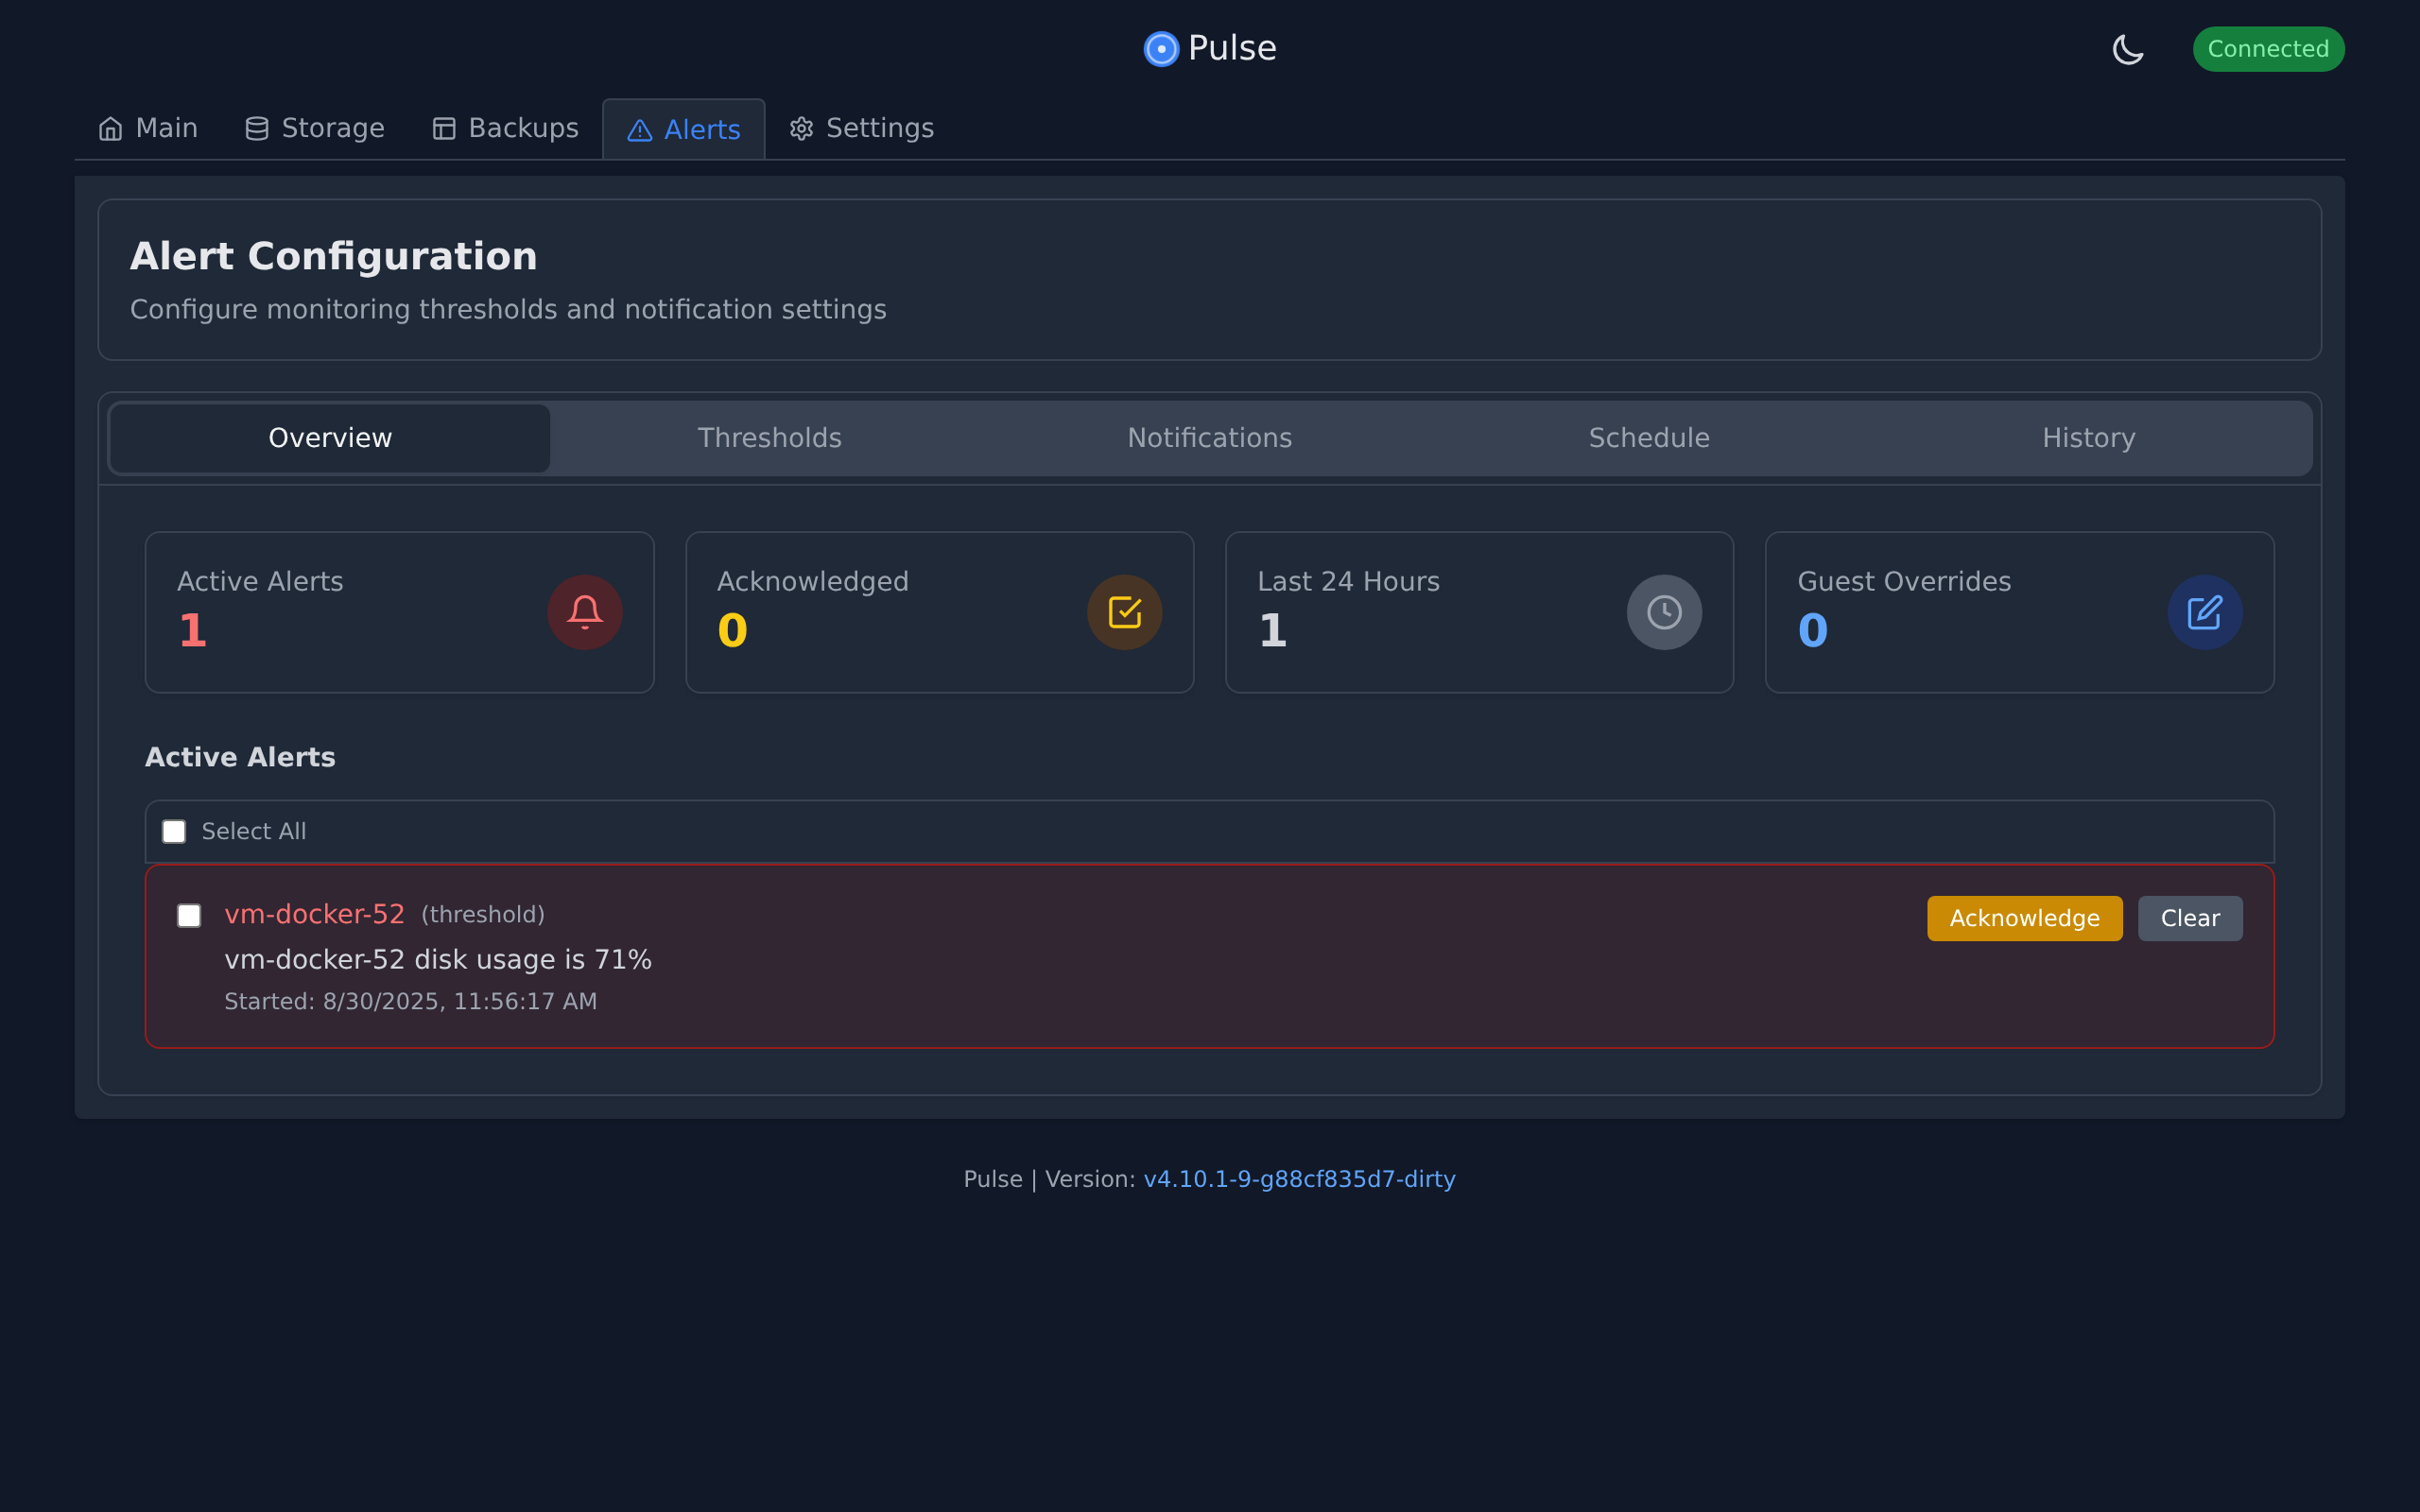 Alert configuration interface showing notification settings
Supported Services
Discord
URL Format: https://discord.com/api/webhooks/{webhook_id}/{webhook_token}
- In Discord, go to Server Settings → Integrations → Webhooks
- Create a new webhook and copy the URL
- Paste the URL in Pulse
Telegram
URL Format: https://api.telegram.org/bot{bot_token}/sendMessage?chat_id={chat_id}
- Create a bot with @BotFather on Telegram
- Get your bot token from BotFather
- Get your chat ID by messaging the bot and visiting:
https://api.telegram.org/bot<YOUR_BOT_TOKEN>/getUpdates - In Pulse, select "Telegram Bot" as the service type
- Use the URL format:
https://api.telegram.org/bot<BOT_TOKEN>/sendMessage?chat_id=<CHAT_ID> - IMPORTANT: The chat_id MUST be included in the URL as a parameter
- Pulse automatically sends rich formatted messages with emojis and full alert details
Slack
URL Format: https://hooks.slack.com/services/{webhook_path}
- In Slack, go to Apps → Incoming Webhooks
- Add to Slack and choose a channel
- Copy the webhook URL
Microsoft Teams
URL Format: https://{tenant}.webhook.office.com/webhookb2/{webhook_path}
- In Teams channel, click ... → Connectors
- Configure Incoming Webhook
- Copy the URL
Gotify
URL Format: https://your-gotify-server/message?token={your-app-token}
- In Gotify, create a new application
- Copy the application token
- Use the URL format:
https://your-gotify-server/message?token=YOUR_APP_TOKEN - The token MUST be included as a URL parameter
- Pulse will send rich markdown-formatted notifications with emojis and full alert details
- View in Pulse links: Automatically detected - links will work out of the box in most cases
ntfy
URL Format: https://ntfy.sh/{topic} or https://your-ntfy-server/{topic}
- Choose a unique topic name (e.g., 'pulse-alerts-x7k9m2')
- Important: Anyone who knows your topic name can send you notifications
- Use a unique/random suffix for privacy
- For ntfy.sh: Use
https://ntfy.sh/YOUR_TOPIC - For self-hosted: Use
https://your-ntfy-server/YOUR_TOPIC - Subscribe to the same topic in your ntfy mobile/desktop app
- For authentication (optional):
- Click "Custom Headers" section in webhook config
- Add header:
Authorization - Value:
Bearer YOUR_TOKENorBasic base64_encoded_credentials
- Notifications include dynamic priority levels and emoji tags based on alert severity
- View in Pulse links: Automatically detected - links will work out of the box in most cases
PagerDuty
URL: https://events.pagerduty.com/v2/enqueue
- In PagerDuty, go to Configuration → Services
- Add an integration → Events API V2
- Copy the Integration Key
- Add the key as a header:
routing_key: YOUR_KEY
Custom Headers
For webhooks that require authentication or custom headers:
- In the webhook configuration, expand the Custom Headers section
- Click + Add Header to add a new header
- Enter the header name (e.g.,
Authorization,X-API-Key,X-Auth-Token) - Enter the header value (e.g.,
Bearer YOUR_TOKEN, your API key, etc.) - Add multiple headers as needed
- Headers are sent with every webhook request
Common Header Examples
| Service | Header Name | Header Value Format |
|---|---|---|
| Bearer Token | Authorization |
Bearer YOUR_TOKEN_HERE |
| Basic Auth | Authorization |
Basic base64_encoded_user:pass |
| API Key | X-API-Key |
your-api-key-here |
| Custom Token | X-Auth-Token |
your-auth-token |
| ntfy Auth | Authorization |
Bearer tk_your_ntfy_token |
| Custom Service | X-Service-Key |
service-specific-key |
Custom Payload Templates
flowchart TD
    AlertEvent["Alert Event Triggered"]
    GatherData["Gather Alert Data\n(Level, Type, Resource, Node, etc.)"]
    ResolveURL["Resolve URL Template\n({{urlpath}}, {{urlquery}}"]
    ResolvePayload["Resolve Payload Template\n(variable substitution)"]
    ApplyFunctions["Apply Template Functions\n(title, upper, lower, printf)"]
    Dispatch["HTTP POST Request"]
    CheckResponse{"Response\nStatus?"}
    Success["200-299: Success\nLog delivery"]
    Retry["429/5xx: Retry\n(exponential backoff)"]
    Failure["4xx: Failure\nLog error"]
    TrackDelivery["Update Delivery Metrics\npulse_webhook_deliveries_total"]

    AlertEvent --> GatherData
    GatherData --> ResolveURL
    ResolveURL --> ResolvePayload
    ResolvePayload --> ApplyFunctions
    ApplyFunctions --> Dispatch
    Dispatch --> CheckResponse
    CheckResponse -->|Success| Success
    CheckResponse -->|Transient Error| Retry
    CheckResponse -->|Permanent Error| Failure
    Success --> TrackDelivery
    Retry --> TrackDelivery
    Failure --> TrackDelivery
For generic webhooks, you can define custom JSON payloads using Go template syntax.
Available Variables
| Variable | Description | Example Value |
|---|---|---|
{{.ID}} |
Alert ID | "alert-123" |
{{.Level}} |
Alert level | "warning", "critical" |
{{.Type}} |
Resource type | "cpu", "memory", "disk" |
{{.ResourceName}} |
Name of the resource | "Web Server VM" |
{{.ResourceID}} |
Resource identifier | "vm-100" |
{{.Node}} |
Proxmox node name | "pve-node-01" |
{{.Instance}} |
Proxmox instance URL | "https://192.168.1.100:8006" |
{{.Message}} |
Alert message | "CPU usage exceeded 90%" |
{{.Value}} |
Current metric value | 95.5 |
{{.Threshold}} |
Alert threshold | 90.0 |
{{.Duration}} |
How long alert has been active | "5m" |
{{.Timestamp}} |
Current timestamp | "2024-01-15T10:30:00Z" |
{{.StartTime}} |
When alert started | "2024-01-15T10:25:00Z" |
Template Functions
| Function | Description | Example |
|---|---|---|
{{.Level | title}} |
Capitalize first letter | "Warning" |
{{.Level | upper}} |
Uppercase | "WARNING" |
{{.Level | lower}} |
Lowercase | "warning" |
{{printf "%.1f" .Value}} |
Format numbers | "95.5" |
{{urlpath .ResourceName}} |
URL-encode a value for path segments | "web%20server" |
{{urlquery .Message}} |
URL-encode a value for query parameters | "CPU+usage+%3E+90%25" |
Dynamic URL Templates
Webhook URLs can also reference the same template variables that are available to payloads. Pulse renders the URL before sending the request and safely encodes path segments by default. When placing values inside query parameters, wrap them with the provided helpers to ensure correct encoding:
https://example.com/hooks/{{urlpath .ResourceName}}?msg={{urlquery .Message}}
Supported variables are identical to the payload template list ({{.Message}}, {{.Node}}, custom fields, etc.). This makes it easy to call services that expect alert metadata in the URL itself.
Example Templates
Simple JSON
{
  "text": "Alert: {{.Level}} - {{.Message}}",
  "resource": "{{.ResourceName}}",
  "value": {{.Value}},
  "threshold": {{.Threshold}}
}
Formatted Alert
{
  "alert": {
    "level": "{{.Level | upper}}",
    "message": "{{.Message}}",
    "details": {
      "resource": "{{.ResourceName}}",
      "node": "{{.Node}}",
      "current_value": "{{printf "%.1f" .Value}}%",
      "threshold": "{{printf "%.0f" .Threshold}}%",
      "duration": "{{.Duration}}"
    }
  },
  "timestamp": "{{.Timestamp}}"
}
Slack-Compatible Custom Format
{
  "text": "Pulse Alert",
  "attachments": [{
    "color": "{{if eq .Level "critical"}}danger{{else}}warning{{end}}",
    "title": "{{.Level | title}} Alert: {{.ResourceName}}",
    "text": "{{.Message}}",
    "fields": [
      {"title": "Value", "value": "{{printf "%.1f" .Value}}%", "short": true},
      {"title": "Threshold", "value": "{{printf "%.0f" .Threshold}}%", "short": true},
      {"title": "Node", "value": "{{.Node}}", "short": true},
      {"title": "Duration", "value": "{{.Duration}}", "short": true}
    ],
    "footer": "Pulse Monitoring",
    "ts": {{.Timestamp}}
  }]
}
Home Assistant
{
  "title": "Pulse Alert: {{.Level | title}}",
  "message": "{{.Message}}",
  "data": {
    "entity_id": "sensor.{{.Node | lower}}_{{.Type}}",
    "state": {{.Value}},
    "attributes": {
      "resource": "{{.ResourceName}}",
      "threshold": {{.Threshold}},
      "duration": "{{.Duration}}"
    }
  }
}
n8n / Node-RED
{
  "workflow": "pulse_alert",
  "data": {
    "alert_id": "{{.ID}}",
    "level": "{{.Level}}",
    "resource": "{{.ResourceName}}",
    "node": "{{.Node}}",
    "metric": {
      "type": "{{.Type}}",
      "value": {{.Value}},
      "threshold": {{.Threshold}}
    },
    "message": "{{.Message}}",
    "timestamp": "{{.Timestamp}}"
  }
}
Testing Webhooks
- After configuring a webhook, click the Test button
- Pulse will send a test alert to verify the webhook is working
- Check the receiving service to confirm the message arrived
- If the test fails, verify:
- The URL is correct and accessible
- Any required authentication tokens are included
- The payload format matches what the service expects
Troubleshooting
Webhook Returns 400 Bad Request
- Check if the payload format is correct for your service
- For Telegram, ensure chat_id is in the URL (Pulse handles it automatically)
- Verify all required fields are present in custom templates
Webhook Returns 401/403
- Check authentication tokens/keys
- Verify the webhook URL hasn't expired
- Ensure IP restrictions allow Pulse server
No Notifications Received
- Verify the webhook is enabled
- Check alert thresholds are configured correctly
- Ensure notification cooldown period has passed
- Test the webhook manually using the Test button
- Temporarily raise log level to
debugvia Settings → System → Logging (or setLOG_LEVEL=debugand restart) to inspectwebhook.deliveryentries in the logs, then return toinfoonce resolved.
API Reference
Create Webhook
POST /api/notifications/webhooks
Content-Type: application/json

{
  "name": "My Webhook",
  "url": "https://example.com/webhook",
  "method": "POST",
  "service": "generic",
  "enabled": true,
  "template": "{\"alert\": \"{{.Message}}\"}"
}
Test Webhook
POST /api/notifications/webhooks/test
Content-Type: application/json

{
  "name": "Test",
  "url": "https://example.com/webhook",
  "service": "generic",
  "template": "{\"test\": true}"
}
Update Webhook
PUT /api/notifications/webhooks/{id}
Content-Type: application/json

{
  "name": "Updated Webhook",
  "url": "https://example.com/new-webhook",
  "enabled": false
}
Delete Webhook
DELETE /api/notifications/webhooks/{id}
List Webhooks
GET /api/notifications/webhooks
Security Considerations
- Never expose webhook URLs publicly - they often contain authentication tokens
- Use HTTPS URLs when possible to encrypt data in transit
- Rotate webhook URLs periodically if they contain embedded tokens
- Test webhooks carefully to avoid sending test data to production channels
- Limit webhook permissions in the receiving service where possible